Repotting your indoor plants can work wonders for their health! It helps them grow stronger and prevents issues like root rot. You might notice that your plant is showing signs it needs a new home, such as roots sticking out of the drainage holes or a sudden slowdown in growth. Other signs include needing to water more often, smaller leaves, or a top-heavy appearance. Typically, you should repot indoor plants every year or two, depending on their growth and environment.
Key Takeaways
Repot indoor plants every 1-2 years to promote healthy growth and prevent root rot.
Look for signs like roots coming out of drainage holes or yellowing leaves to know when to repot.
Choose a pot that is 2-3 cm larger than the current one and ensure it has drainage holes.
Use a quality potting mix that balances moisture retention and drainage for optimal root health.
After repotting, monitor your plant’s health and provide stable light and temperature conditions.
When to Repot Indoor Plants
Signs of Repotting Need
You might wonder how to tell if it’s time to repot your houseplants. Here are some clear signs to look for:
Roots coming out of the pot: If you see roots peeking out of the drainage holes, your plant is likely root-bound and needs more space.
Plant-to-pot ratio: Ideally, your plant should fill about two-thirds of the pot. If it’s more like three-quarters, it’s time to repot.
Yellowing leaves: If your plant’s leaves start turning yellow or growth slows down, it may not be thriving in its current pot.
Soil sinking: If the soil level has dropped significantly, it may indicate that the plant has absorbed most of the nutrients, and it’s time to refresh the soil.
For most tropical houseplants, it’s time to repot when roots begin peeking out of the drain holes at the bottom of the container. You may also notice that when you water, most of the water pours out of the drain holes immediately without soaking in. Both clues indicate that the plant’s roots have filled the pot and have nowhere else to grow.
Ideal Timing for Repotting
Timing is crucial when you decide to repot your plants. The best time to repot is during the spring. This is when plants are actively growing, and they can adapt to their new environment more easily. Experts generally recommend repotting during the spring and summer months for optimal results.
Failing to repot can lead to nutrient depletion and salt accumulation in the soil. Over time, the soil can lose its nutrients, resulting in stunted growth and reduced vigor. Regularly replacing the soil through repotting is essential to maintain plant health.
Plant Type | Repotting Frequency |
|---|---|
General Rule | Every two years |
Outgrown Pot | More often if necessary |
By keeping an eye on these signs and timing your repotting correctly, you can ensure your plants stay healthy and vibrant!
Materials to Repot Your Houseplant
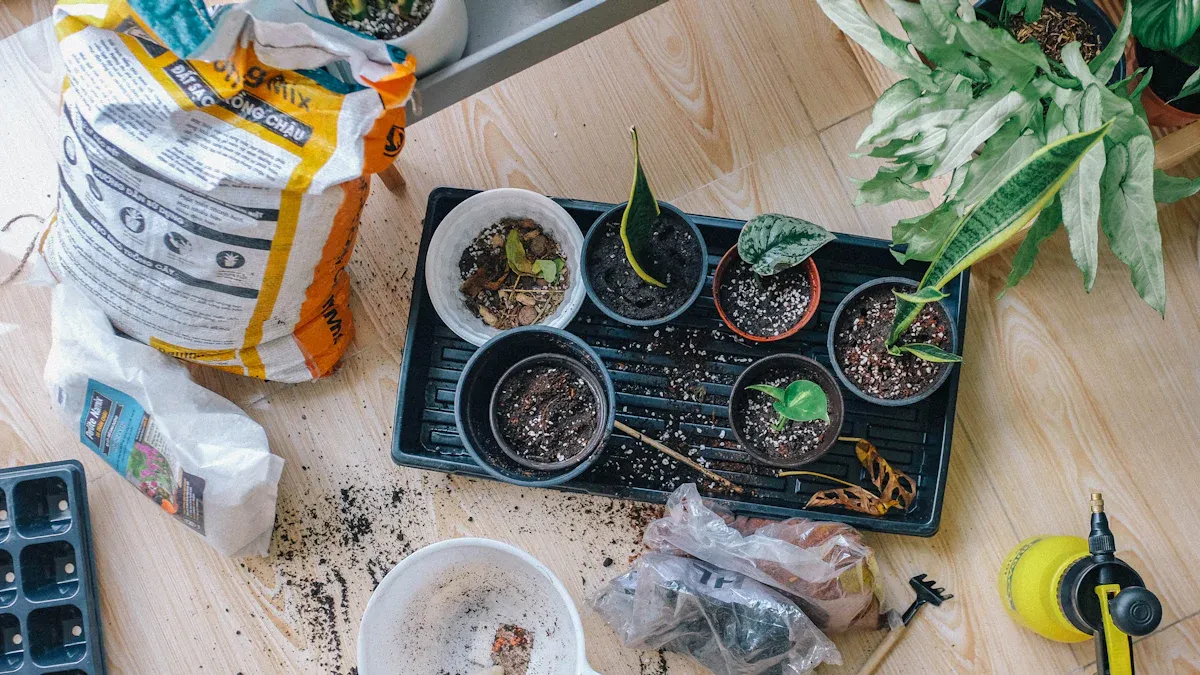
When you decide to repot your houseplant, having the right materials is essential. Here’s what you’ll need:
Hori Hori: This handy tool helps you de-tangle and prune unhealthy roots.
Watering Can: A smaller can with a long spout allows for precise watering, especially at the base of the plant.
Gardening Gloves: Protect your hands while repotting and keep them clean.
Potting Mix: This is crucial for repotting, especially when your plants are root-bound.
Container with Drainage: A pot with drainage holes prevents water from accumulating at the bottom, which can damage your plant.
Soil Additions: These enhance moisture retention, drainage, and aeration for the roots.
Choosing the Right Pot
Selecting the right pot is just as important as choosing the right soil. Here are some key factors to consider:
Size: Make sure the pot is appropriately sized for your plant. A pot that’s too small can restrict growth, while one that’s too large can lead to overwatering.
Material: Choose a pot material that suits your plant’s needs. For example, terracotta pots are breathable and great for plants that prefer drier conditions, while plastic pots retain moisture better.
Drainage: Ensure your pot has proper drainage. This prevents waterlogging, which can lead to root rot.
Aesthetic Compatibility: Match the pot’s visual characteristics with your plant and home decor. A well-chosen pot can enhance the beauty of your indoor space.
When you pick a pot, remember that the size determines what plants can thrive in it. If you’re unsure, opting for a slightly larger pot is generally acceptable.
Selecting Potting Soil
The type of potting soil you choose can significantly impact your plant’s health. Here’s what to keep in mind:
Moisture Retention: Some potting soils retain too much moisture, which may lead to root rot in certain plants. Look for a mix that balances moisture retention and drainage.
Soil Density: Dense potting soils can compact over time, blocking air from reaching the roots. A lighter mix promotes healthy root growth.
Types of Soil:
Topsoil: Rich in nutrients and ideal for most plants.
Potting Mix: Light and airy, designed for containers, promoting root expansion and preventing waterlogging.
Compost: Nutrient-rich and improves soil structure.
Sand: Enhances drainage and reduces compaction when mixed with other soils.
Peat Moss: High water retention, ideal for acid-loving plants.
Indoor plants require specific types of soil that can retain moisture while also providing adequate drainage. This balance is essential for ensuring that your plants have access to both water and air, which are critical for their health.
By gathering these materials and understanding how to choose the right pot and soil, you’ll be well on your way to successfully repotting your houseplants!
Step-by-Step Guide to Repot Indoor Plants
Repotting your indoor plants can seem daunting, but with this step-by-step guide, you’ll feel confident and ready to give your plants a fresh start! Let’s dive into the process.
Prepare the New Pot
Before you begin, gather all your materials and prepare your new pot. Here’s what you need to do:
Choose the Right Pot: Make sure your new pot is about 2-3 cm larger in diameter than the current one. This extra space allows your plant to grow without becoming root-bound.
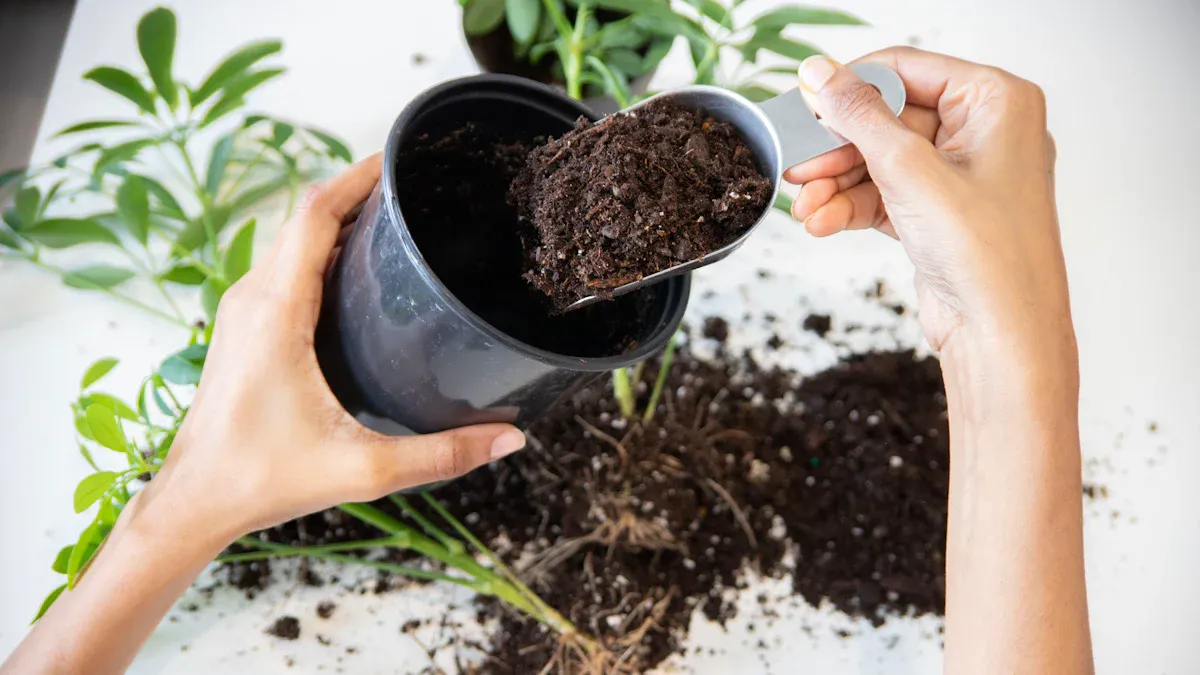
Add Soil: Place about one to two inches of potting soil at the bottom of the new pot. This layer provides a cushion for the roots and helps with drainage.
Check Drainage: Ensure your pot has drainage holes. This prevents water from accumulating at the bottom, which can lead to root rot.
Tip: If you’re using a decorative pot without drainage, consider placing a smaller pot inside it for proper drainage.
Remove the Plant
Now it’s time to remove the plant from its current pot. Follow these steps to do it safely:
Turn the Pot Upside Down: Gently hold the base of the plant and turn the pot upside down. Tap the sides if needed to loosen the soil.
Remove the Plant: Carefully pull the plant out. If it’s stuck, you might need to squeeze the pot gently or use a tool to help loosen the edges.
Loosen the Roots: Once out, gently shake off the old soil. If the roots are tightly packed, use your fingers or a tool to loosen them. This encourages healthy growth in the new pot.
Position the Plant
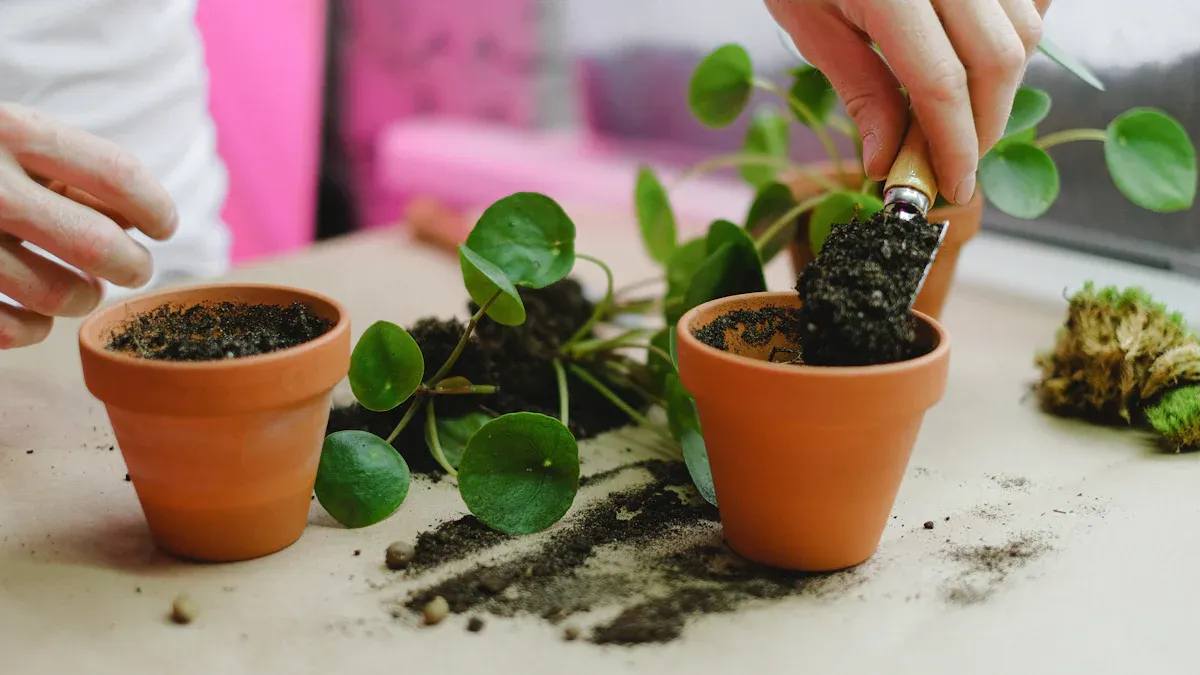
Positioning your plant correctly in the new pot is crucial for its health. Here’s how to do it:
Center the Plant: Place the plant in the center of the new pot. The top of the root ball should be even with or just below the rim of the pot.
Check Soil Level: Ensure there’s about an inch of space between the soil and the rim of the pot. This space allows for watering without overflow.
Adjust as Needed: If the plant is too deep, gently lift it up. If it’s too high, add more soil underneath.
Tip: Keeping the water table low helps oxygen reach the lower root system, which is beneficial for plant health.
Fill and Water
Now that your plant is positioned correctly, it’s time to fill the pot with soil and water it:
Add Soil: Fill the sides of the pot with potting mix, pressing it down gently but not too tightly. This ensures good contact between the soil and roots.
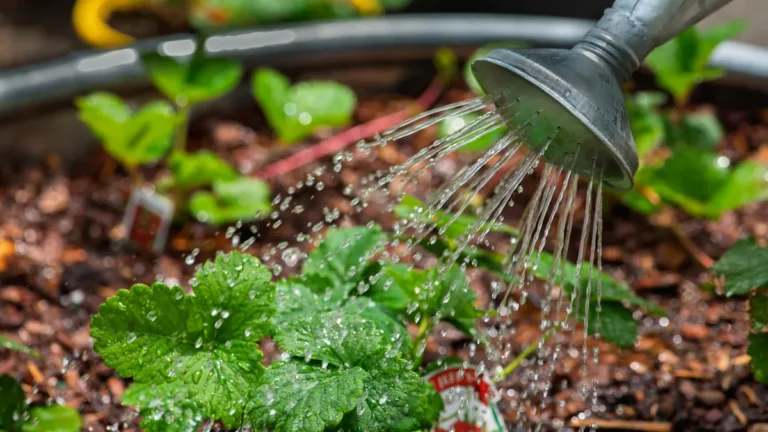
Water Thoroughly: After filling, water the plant until you see water draining from the bottom. This helps settle the soil and removes any air pockets.
Let It Rest: Allow your plant to rest for a few days before watering again. This waiting period helps heal any root damage and minimizes the risk of root rot.
Tip: If you’re repotting succulents or cacti, let the soil dry out for a few days before watering.
By following these steps, you can successfully repot indoor plants with minimal stress and maximum survival. Remember, repotting is not just about changing pots; it’s about giving your plants the best chance to thrive!
Aftercare for Repotted Houseplants
Adjusting to New Conditions
After you repot your houseplants, they need some time to adjust to their new environment. Here are some tips to help them settle in:
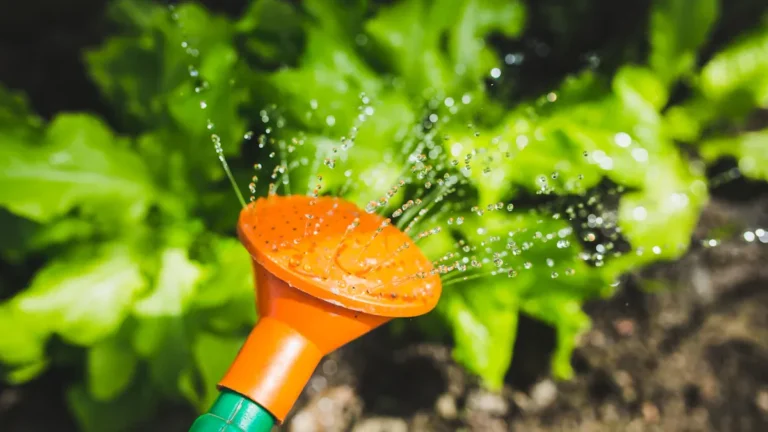
Watering: Water your plant thoroughly after repotting, but avoid overwatering. The soil should feel moist, not soggy. This helps the roots recover and prevents transplant shock.
Light Conditions: Place your plant in a spot with appropriate light. Avoid direct sunlight for a couple of weeks, as the roots are still sensitive. Gradually introduce them to brighter light if needed.
Temperature Stability: Keep your plant away from drafts and extreme temperature changes. A stable environment helps reduce stress.
Tip: Acclimatizing your plants to their new surroundings is crucial. Pay attention to temperature and light conditions to make the transition smoother.
Monitoring Plant Health
In the weeks following repotting, keep an eye on your plant’s health. Here are some signs to watch for:
Leaf Condition: Healthy leaves should be firm, glossy, and show consistent color. If you notice yellowing or browning, it may indicate stress.
New Growth: Look for new growth during the active season. This is a good sign that your plant is adjusting well.
Root System: Check if the roots fill the pot without being compacted. Healthy roots should appear white or light tan.
Common signs of stress include wilting, leaf drop, and stunted growth. If you see these symptoms, ensure you’re using a well-draining potting mix and handle your plant gently. Water thoroughly after repotting to help it acclimate.
Note: Houseplants typically recover from repotting stress within a few weeks. However, the duration can vary based on the plant type and its overall health.
By following these aftercare steps, you can help your houseplants thrive after repotting. Remember, patience is key as they adjust to their new home!
Repotting your indoor plants is essential for their health and growth. Regular repotting, ideally every year, helps maintain vibrant plants. Fresh soil provides nutrients, prevents root rot, and allows roots to grow freely. Here are some key benefits of repotting:
Nutrient Boost: Fresh soil gives your plants the nutrients they need.
Better Watering: It helps roots absorb water properly.
New Growth: More space means healthier, faster growth.
Disease Prevention: It reduces the risk of root rot.
So, don’t wait! If your plants show signs of needing a new home, take action. You’ll feel great knowing you’re giving them the care they deserve. Happy repotting! 🌱
FAQ
What type of pot should I use for repotting?
Choose a pot that’s 2-3 cm larger in diameter than the current one. Ensure it has drainage holes to prevent waterlogging. Materials like terracotta or plastic work well, depending on your plant’s needs.
How often should I repot my indoor plants?
Most indoor plants benefit from repotting every 1-2 years. However, if you notice roots coming out of the drainage holes or stunted growth, it’s time to repot sooner.
Can I use garden soil for indoor plants?
It’s best to avoid garden soil for indoor plants. It can compact and lacks the drainage and aeration needed for healthy root growth. Use a quality potting mix instead.
What should I do if my plant shows signs of stress after repotting?
If your plant shows stress, ensure it’s in the right light and temperature. Water it properly, but avoid overwatering. Give it time to adjust, as recovery can take a few weeks.
Is it necessary to prune roots when repotting?
Pruning roots can be beneficial, especially if they are tightly bound. Trim any dead or unhealthy roots to encourage new growth. Just be gentle to avoid damaging the healthy roots.