When your yard suffers from poor drainage, it can lead to a host of problems. You might notice standing water pooling in your garden, which can suffocate your plants and even lead to flooding. Not only does this affect your yard’s appearance, but it can also lower your property value. Natural drainage solutions offer a way to tackle these issues without harsh chemicals or extensive renovations. By implementing strategies to improve yard drainage, you can promote healthier soil, reduce mold growth, and create a more inviting outdoor space. Embracing these techniques not only benefits your yard but also supports the environment.
Key Takeaways
Aerate your lawn to improve drainage. This process reduces water usage by up to 40% and promotes healthier grass growth.
Enhance soil quality with amendments like compost and perlite. These materials improve drainage and support plant health.
Regrade your yard to create a slope that directs water away from your home. This simple adjustment can prevent flooding and mold growth.
Install a French drain to effectively manage excess water. This DIY project can protect your property from flooding for years.
Create a rain garden to capture runoff and support local wildlife. This eco-friendly solution improves drainage and enhances your yard’s beauty.
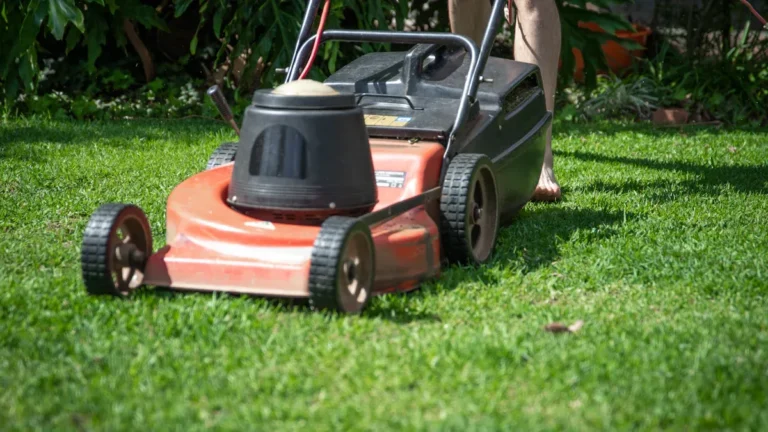
Aeration
Benefits of Aeration
Aeration is a fantastic way to improve yard drainage. It involves perforating the soil with holes to allow air, water, and nutrients to penetrate deeper. This process helps break up compacted soil, which is a common issue in many yards. When you aerate, you can expect several benefits:
Water Usage Reduction: You might find that you need up to 40% less water annually after aerating your lawn.
Pesticide Application Reduction: Homeowners often see a 25% decrease in pesticide applications over three years.
Growth Improvement: By the second season, your grass will likely appear denser and greener.
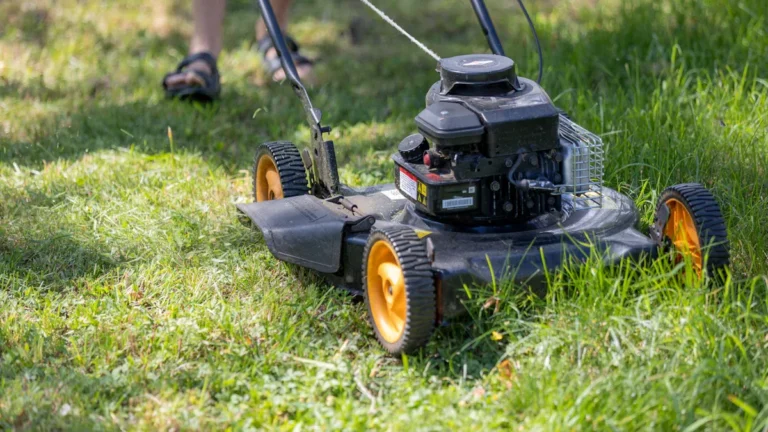
How to Aerate Your Lawn
Aerating your lawn is simple and can be done with a few tools. Here’s how to do it effectively:
Choose the Right Time: The best time to aerate is during the growing season. For cool-season grasses, early spring or fall works well. For warm-season grasses, late spring is ideal.
Prepare Your Lawn: Mow your grass to about 2 inches high. This height helps the aerator reach the soil more easily.
Check Soil Moisture: Aeration works best when the soil is moist but not soggy. If it’s too dry, water your lawn a day before aerating.
Use the Right Equipment: You can rent a core aerator from a local garden center. This machine removes small plugs of soil, allowing for better drainage.
Aerate in a Pattern: Move in straight lines across your lawn, overlapping slightly with each pass. This ensures even coverage.
Follow Up: After aerating, consider overseeding your lawn to promote new growth. You’ll start to see improvements in drainage within 2 to 4 weeks, with noticeable results in as little as 7 to 10 days.
Remember, aeration is just one part of maintaining good yard drainage. Avoid common mistakes like ignoring the natural slope of your yard or using the wrong fill materials. These can lead to more problems down the line.
Soil Improvements
Types of Amendments
Improving your soil is a key step in enhancing yard drainage. Here are some effective amendments you can use:
Perlite: This lightweight material creates air pockets in the soil, making it perfect for low-lying areas. It helps water flow more freely.
Vermiculite: When wet, vermiculite expands and contracts when dry. This action aids in moving air and water through compacted clay.
Coarse Sand: Mixing coarse sand with organic matter can improve drainage. However, be cautious; too much sand can create a concrete-like texture.
Additionally, consider these organic options:
Compost: This amendment enhances soil structure, drainage, and nutrient retention. It’s especially beneficial for clay-heavy soils.
Gypsum: Gypsum aerates the soil and removes sodium without altering pH levels, making it a great choice for improving drainage.
Application Methods
To maximize the benefits of these amendments, follow these application methods:
Test Your Soil: Before adding amendments, check your soil’s compaction. You can use a simple probe or a penetrometer to measure how easily it penetrates the ground.
Incorporate Organic Matter: Mix organic amendments like compost into the top 6 to 12 inches of soil. This improves moisture retention and overall lawn health.
Spread Evenly: Use a rake to spread amendments evenly across your yard. Aim for a layer about 1 to 2 inches thick.
Water Thoroughly: After applying amendments, water your lawn well. This helps the amendments settle into the soil and start working their magic.
By improving your soil with these amendments, you can tackle poor drainage issues effectively. Not only will this help reduce mold growth, but it will also create a healthier environment for your plants.
Regrading for Better Drainage
Understanding Regrading
Regrading your yard can be a game-changer when it comes to tackling drainage problems. This process involves reshaping the land to create a gentle slope that directs water away from your home and other structures. By doing this, you can significantly reduce standing water and prevent mold growth. Even minor adjustments in grading can make a big difference. For instance, creating a “positive grade” channels water into designated drainage areas like swales or rain gardens.
Here are some key points to keep in mind about regrading:
Proper grading is essential for effective drainage.
It helps ensure that water flows away from your foundation.
Small slope adjustments can redirect water away from your house, preventing potential flooding.
Steps to Regrade
Ready to get started? Here’s a simple guide to regrade your yard effectively:
Assess the Slope: Begin by checking the slope of your yard. Make sure it directs water away from your home. Ideally, the ground should slope downwards at least 2% away from your foundation.
Identify Low Spots: Look for areas where water tends to pool. These low spots can trap water and lead to drainage issues.
Add Soil: Fill in those low areas with topsoil to create a gentle slope. Ensure that the soil does not touch your siding, leaving at least 4 inches of your foundation visible.
Compact the Soil: After adding soil, compact it to prevent settling. This step is crucial for maintaining the slope over time.
Plant Grass: To stabilize the area, consider planting grass or other vegetation. This will help absorb excess water and prevent erosion.
Evaluate and Adjust: After regrading, monitor how water flows during rain. You may need to make further adjustments to ensure optimal drainage.
By following these steps, you can effectively regrade your yard and improve drainage. Remember, proper grading is fundamental for flood-resilient landscaping. If you notice persistent drainage problems, it might be worth consulting a professional for a thorough evaluation.
French Drains
What is a French Drain?
A French drain is a simple yet effective drainage system designed to remove excess water from your yard. It consists of a trench filled with gravel or other absorbent materials, with a perforated pipe underneath. This setup allows water to flow into the pipe while keeping debris out. French drains rely on gravity and are typically installed with a slight slope to guide water away from problem areas, such as your home’s foundation. By channeling groundwater away, they help prevent flooding and protect against basement flooding.
Installation Steps
Installing a French drain can be a rewarding DIY project. Follow these steps to set up your own system:
Marking the Drain Path: Use stakes and string to outline the path of your drain. Ensure it slopes downward at least one inch for every eight feet.
Digging the Trench: Dig a trench about 18 inches wide and 24 inches deep along the marked path. Keep the bottom of the trench sloped to maintain proper drainage.
Installing Filter Fabric: Line the trench with filter fabric. This fabric prevents soil from clogging the drainage system while allowing water to flow freely.
Laying the Perforated Pipe: Place the perforated pipe in the trench with the holes facing down. This orientation allows water to enter the pipe easily.
Adding Gravel and Backfilling: Fill the trench with gravel, covering the pipe completely. Fold the filter fabric over the gravel and backfill with soil to finish.
By following these steps, you can create an effective French drain that helps manage water flow and reduces the risk of flooding in your yard. With proper installation, a French drain can last between 10 to 30 years, providing long-term drainage solutions for your property.
Creating a Rain Garden
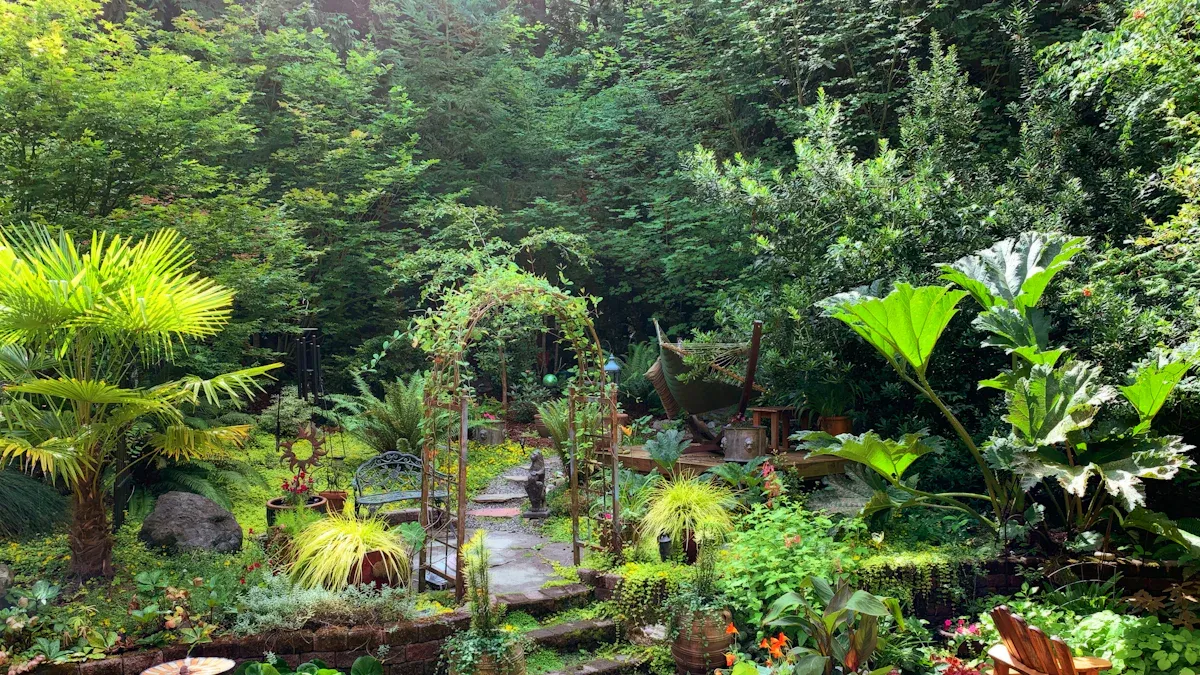
Benefits of Rain Gardens
Creating a rain garden can significantly improve yard drainage and tackle common drainage problems. These gardens capture rainwater from roofs and other surfaces, allowing it to soak into the ground. Here are some key benefits:
Pollutant Removal: Properly designed rain gardens can trap and retain up to 99% of common pollutants in urban storm runoff. They can remove over 60% of total nitrogen and about 80% of total suspended solids.
Wildlife Habitat: Rain gardens create habitats for various wildlife, including pollinators like bees and butterflies. They enhance local biodiversity and contribute to ecosystem stability.
Groundwater Recharge: By allowing filtered stormwater to seep into the ground, rain gardens help recharge local groundwater supplies. This process alleviates pressure on downstream sewer systems and reduces flooding.
Design and Planting Tips
Designing a rain garden is easier than you might think! Here are some tips to get you started:
Choose the Right Location: Pick a spot that collects runoff, like near downspouts or driveways. Ensure it’s at least 10 feet away from your home’s foundation to prevent water from pooling near your house.
Determine the Size: A rain garden should be about 20% of the area that drains into it. For example, if your roof drains 1,000 square feet, aim for a rain garden of about 200 square feet.
Select Native Plants: Native plants thrive in your local climate and require less maintenance. Here’s a quick list of great options for temperate climates:
Plant Name
Characteristics
Rose Mallow (Hibiscus moscheutos)
Thrives in moist soils, blooms large flowers up to 8” across.
Switchgrass (Panicum virgatum)
Grows well in various conditions, ideal for rain gardens.
Cardinal Flower (Lobelia cardinalis)
Requires moisture, blooms big red flowers.
Buttonbush (Cephalanthus occidentalis)
Thrives in wet areas, attracts bees.
Layer Your Soil: Use a mix of topsoil, sand, and compost to create a well-draining base. This setup allows water to percolate quickly while providing nutrients for your plants.
Mulch and Maintain: Add a layer of mulch to retain moisture and suppress weeds. Regularly check your rain garden to ensure it’s functioning well and adjust as needed.
By following these tips, you can create a beautiful rain garden that not only enhances your yard but also contributes to better drainage solutions and a healthier environment.
Dry Creek Beds and Swales
Managing Water Runoff
Dry creek beds and swales are excellent solutions for managing water runoff in your yard. They help redirect excess rainwater away from your home, reducing the risk of flooding and drainage problems. Here’s how they work:
Dry Creek Beds: These are decorative channels filled with rocks that mimic a natural stream. They guide water away from areas prone to pooling, enhancing your landscape’s beauty while serving a functional purpose.
Swales: These are shallow, vegetated channels designed to capture and slow down stormwater. They filter pollutants and allow water to seep into the ground, promoting groundwater replenishment.
Both features can significantly improve your yard’s drainage and contribute to a healthier ecosystem.
Feature | Dry Creek Beds | Swales |
|---|---|---|
Purpose | Decorative and channels water away | Captures, slows, and filters stormwater |
Erosion Control | Effective for moderate water flow | More efficient for serious drainage issues |
Groundwater Replenishment | Helps replenish groundwater and filter pollutants | Directs water to deep soil, enhancing ecosystem health |
Maintenance | Relatively low maintenance | Natural, requires less maintenance than catch basins |
Aesthetic Appeal | Adds visual interest to landscapes | Primarily functional, but can be landscaped |
Construction Tips
Building a dry creek bed or swale can be a fun DIY project. Here are some tips to get you started:
Planning the Creek Path: Observe how water flows during rain. Mark the natural drainage path and create gentle curves to slow water and enhance the look.
Excavation Steps: Dig trenches 12 to 18 inches deep and twice as wide as the depth. This ensures proper function and appearance.
Fabric Installation: Use heavy-duty landscape fabric to prevent weeds and sinking rocks. Make sure it’s pinned and overlapped correctly.
Adding the Gravel Base: Pour pea gravel to create a stable foundation that aids drainage.
Rock Placement Strategy: Use a variety of rock sizes and shapes for a natural appearance. Start with larger rocks along the edges.
Access and Maintenance Considerations: Ensure there’s enough space for maintenance activities alongside the creek bed.
Common Mistakes to Avoid: Avoid inadequate excavation depth, improper grading, and neglecting drainage endpoints to ensure the creek bed functions effectively.
By following these tips, you can create effective drainage solutions that enhance your yard’s beauty and functionality.
Improving yard drainage naturally is not just about solving immediate problems; it’s about creating a healthier environment for your plants and enhancing your property’s value. By using methods like aeration, soil amendments, and rain gardens, you can make a significant impact.
Consider these long-term benefits:
Improved soil health through native plants that enhance soil structure.
Reduced erosion with rain gardens that capture runoff and filter pollutants.
Increased property value, with proper drainage systems leading to potential increases of 5-15%.
So, why wait? Start implementing these natural techniques today to improve yard drainage and enjoy a thriving outdoor space!
FAQ
What causes poor yard drainage?
Poor yard drainage often results from compacted soil, improper grading, or heavy clay content. These factors prevent water from soaking into the ground, leading to puddles and flooding.
How often should I aerate my lawn?
You should aerate your lawn at least once a year. For high-traffic areas, consider aerating twice a year to maintain healthy soil and improve drainage.
Can I install a French drain myself?
Yes, you can install a French drain yourself! With the right tools and materials, following the steps outlined in this blog, you can create an effective drainage solution.
What plants are best for a rain garden?
Choose native plants for your rain garden. They thrive in local conditions and require less maintenance. Good options include Switchgrass, Rose Mallow, and Cardinal Flower.
How do dry creek beds help with drainage?
Dry creek beds channel excess rainwater away from your home. They reduce pooling and flooding while enhancing your landscape’s beauty, making them a practical and attractive solution.